
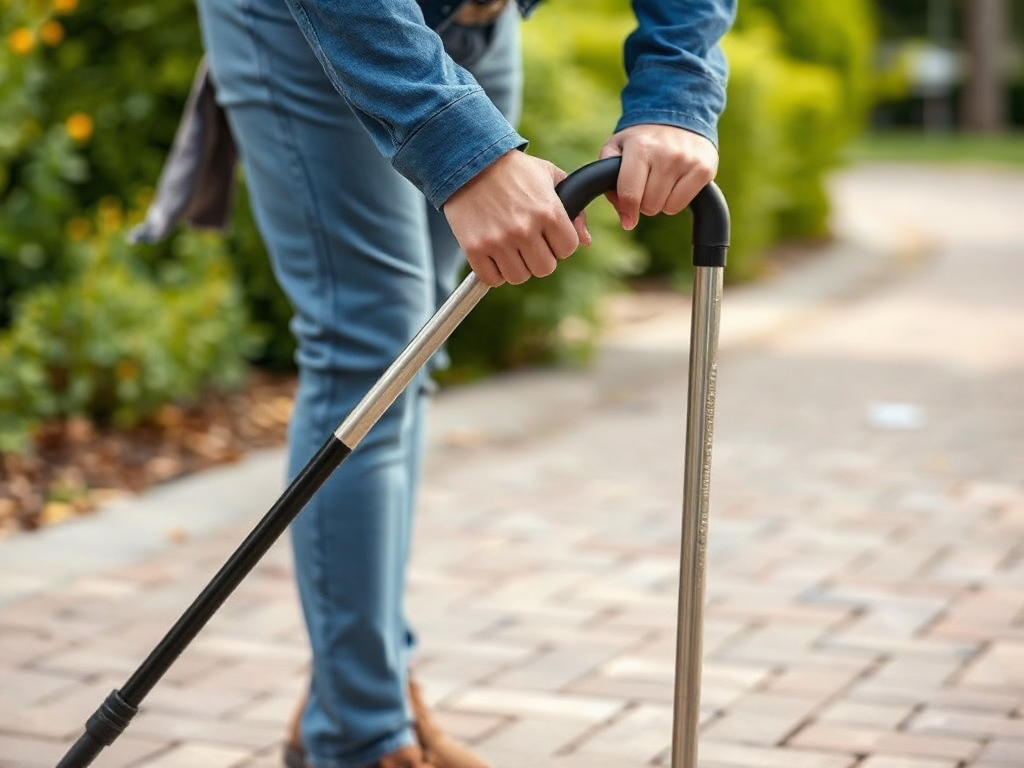
Choosing a cane side for a painful hip or knee usually means holding it in the hand opposite the affected leg: use the left hand when the left hip or knee hurts, and the right hand when the right side hurts. The cane and sore leg move forward together, allowing the stronger side to share more of the load and improving balance during the step. Proper height matters because a handle that is too low or high can strain the wrist, shoulder, or back. If both legs hurt, balance is poor, or you need to put substantial weight through the cane, a physical therapist should assess whether a walker or crutches would be safer.
Which Hand Should Hold the Cane?
The usual cane position is the hand opposite the painful hip or knee. A painful right knee is supported by a cane in the left hand; a painful left hip is supported by a cane in the right hand. This arrangement is not arbitrary. As the cane and affected leg advance together, the cane provides an additional point of support while the stronger leg remains responsible for more of the body’s forward movement.
Holding the cane on the painful side may feel intuitive, especially when the soreness is easy to identify. It can still be useful in a few situations, such as when a clinician has prescribed a particular technique or when one arm has limited strength. For ordinary one-sided hip or knee pain, though, the opposite-hand method generally offers better coordination and reduces the side-to-side sway that can occur when the cane is placed beside the weaker leg.
Imagine a person with a painful left knee. The cane stays in the right hand, slightly out to the side. The person moves the cane and left foot forward, then steps through with the right foot. That sequence allows the cane to share some load while the right leg completes the step. The goal is not to lean heavily on the cane; it is to make the painful leg’s loading more controlled.
A cane cannot correct every walking problem. Numbness, marked weakness, dizziness, recent surgery, or pain in both legs may change the safest device and technique. A common mistake is treating the hand rule as a substitute for assessment. If the cane causes repeated catches, shoulder tension, or worsening pain, stop and have the fit and walking pattern checked. Guidance on choosing a cane side for painful hip or knee should be applied alongside the cause and severity of the symptoms.
How to Walk With a Cane Safely
Safe cane walking depends on a controlled sequence rather than simply dragging the device beside the body. Stand upright with the cane held in the opposite hand, then place it a short distance ahead and slightly outward. Move the painful leg forward toward the cane, followed by the stronger leg. Small, deliberate steps are usually easier to control than long strides.
On level ground, the cane and affected leg commonly move together. The stronger leg then passes the cane. This pattern gives the sore side support at the moment it accepts weight. If the cane is placed too far ahead, the body may lunge toward it; if it is planted too close to the foot, there may not be enough room to balance. Either error can increase the chance of stumbling.
Stairs require a different priority because the handrail is often more stable than a cane. Use the rail when available and keep the cane on the opposite side if it can be used without crowding the steps. A widely taught memory aid is “up with the good” and “down with the bad”: the stronger leg leads going up, while the painful leg and cane lead going down. Move one step at a time unless a clinician has specifically taught another pattern.
Turning is another frequent failure point. Avoid pivoting quickly on the painful foot. Instead, take several short steps and keep the cane close enough to participate in the turn. Wet floors, loose rugs, uneven sidewalks, and poor lighting can defeat an otherwise sound technique, so remove household hazards where possible.
- Check that the cane tip is fully on the floor before transferring weight.
- Keep your eyes directed toward the path, not continuously at your feet.
- Wear secure, nonslip footwear rather than loose slippers.
- Pause before sitting or standing so the cane does not slide away.
Someone who needs only light balance assistance may walk comfortably with a single-point cane. Someone who repeatedly unloads the leg, buckles, or cannot maintain an upright posture may need more support. The wrong assumption is that slower walking alone makes any cane technique safe; stability, coordination, and the ability to react to a slip matter just as much.
Cane Height, Grip, and Surface Checks
A cane works best when its handle allows a relaxed arm and a small bend at the elbow while the tip rests on the floor. Stand in normal shoes with the arm resting at the side and adjust the cane so the handle is near the wrist crease. The exact setting may vary with posture and device design, but the practical test is whether the shoulder stays level and the wrist remains neutral during walking.
A cane set too short encourages hunching and excessive pressure through the hand. A cane set too tall can lift the shoulder and limit the elbow’s ability to absorb movement. Neither problem is solved by gripping harder. After adjustment, walk several steps and look for signs such as shoulder elevation, leaning toward the cane, wrist bending, or a cane tip that repeatedly lands behind the body.
The tip deserves attention as well. A worn rubber ferrule may look intact while losing traction on tile or polished flooring. Replace it if it is cracked, flattened, loose, or visibly worn. Quad canes can provide a broader base, but they are heavier and may catch on thresholds if lifted poorly. A standard single-point cane may be easier to maneuver for someone who needs modest support and has good balance.
Grip comfort also affects technique. Arthritis in the hand, reduced sensation, or weak fingers can make a narrow handle difficult to control. A larger or contoured grip may feel better, but comfort does not guarantee that the device is correctly sized. Test the cane on the surfaces where it will actually be used: carpet, hardwood, pavement, and curbs can produce different reactions.
One practical check is to ask whether the cane is helping the leg or merely replacing it. If every step requires strong downward pressure, the device may be too limited for the task. If the cane is only used outdoors, rehearse the pattern indoors first, then practice thresholds and turns before attempting crowded areas. The cane-side decision is only one part of safe mobility; fit and environment can change the result.
When a Cane Is Not Enough
A cane is most appropriate when one leg has a manageable amount of pain or weakness and the person can remain steady while standing. It is not a universal answer for severe instability. A walker may be more suitable when support is needed through both arms, while crutches may be considered when a leg must be kept substantially unloaded under professional instruction.

Seek medical assessment promptly for a new inability to bear weight, a major fall, visible deformity, sudden swelling, severe pain after an injury, or new weakness or numbness. Chest symptoms, fainting, or shortness of breath during walking also require urgent attention rather than a change in cane technique. These symptoms may reflect problems that a mobility aid cannot address.
Even without an emergency, arrange an evaluation if the pain is progressively worsening, walking distance is shrinking, or the cane has been needed for longer than expected without improvement. A physical therapist can observe the gait, adjust the height, test stairs, and determine whether the opposite-hand position is being used effectively. A clinician can also assess whether the hip or knee symptoms need diagnosis rather than self-management alone.
Do not assume that a cane should be used indefinitely just because it reduces discomfort during a short walk. It may reduce loading temporarily, but prolonged dependence without addressing weakness, range-of-motion limits, footwear, or the underlying condition may leave the original problem unresolved. Conversely, abandoning the cane too early can produce a limp and unnecessary strain. The sensible decision is based on steadiness, pain behavior, and function, not pride or a fixed timetable.
Before going out, use this compact check: affected side identified, opposite hand selected, handle height tested, tip inspected, footwear secured, and route checked for hazards. If any answer is uncertain—or if the cane cannot prevent buckling—choose a professional assessment over experimentation.
For device-fitting and gait instruction, readers can consult patient education from recognized hospital systems, rehabilitation organizations, and government health services. A physical therapist or prescribing clinician can provide individualized instruction, particularly after surgery, a fall, or a period of rapid functional decline.
Frequently Asked Questions
Should a cane go on the same side as the painful knee?
Usually no. Hold a single cane in the hand opposite the painful knee or hip so the cane and affected leg can advance together.
Which hand holds a cane for right hip pain?
Use the left hand for right hip pain unless a clinician has given different instructions because of arm weakness or another limitation.
How should the cane and sore leg move?
Place the cane slightly ahead, move the painful leg toward it, then step through with the stronger leg. Use short, controlled steps.
Can a cane help with pain in both knees?
It may provide limited assistance, but bilateral pain often requires an assessment to determine whether a walker or another aid offers safer support.
What indicates that a cane is fitted incorrectly?
Hunching, a raised shoulder, a sharply bent wrist, repeated cane slipping, or heavy leaning through the handle suggests that height, technique, or device choice should be checked.
Conclusion
For one painful hip or knee, the opposite hand is usually the safest starting position: right hand for left-sided symptoms and left hand for right-sided symptoms. The cane should move with the sore leg, remain close enough to support the step, and be adjusted so the arm stays relaxed. Technique must adapt on stairs, turns, uneven ground, and slippery surfaces. Inspect the tip, wear stable shoes, and treat buckling, severe weakness, injury-related pain, or inability to bear weight as reasons to seek assessment. If the cane demands heavy pressure or fails to improve steadiness, a physical therapist or clinician can help select a stronger aid and address the underlying mobility problem.