
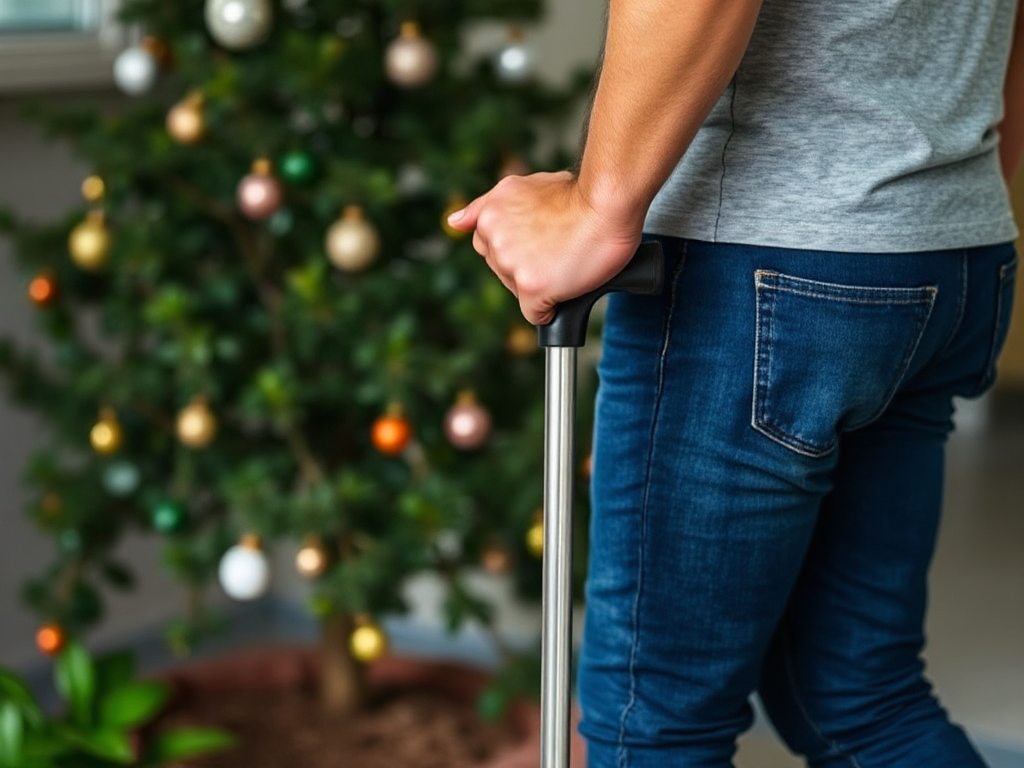
Using a cane without overloading wrist or shoulder joints requires correct height, a relaxed grip, upright posture, and placement that shares support rather than forcing the arm to carry body weight. Set the handle near the wrist crease when standing naturally, keep the elbow slightly bent, and advance the cane with the opposite leg unless a clinician has given different instructions. Pressing down through a locked elbow, leaning heavily into the handle, or carrying the cane too far ahead can strain the wrist and shoulder. Persistent hand numbness, shoulder pain, slipping, or worsening balance signals that the cane fit or walking plan needs professional review.
Set the Cane Height Before Changing Your Walking Pattern
A cane transfers some load from a painful or unsteady leg to the arm, but poor adjustment can move that stress into the wrist, elbow, or shoulder. Stand upright in the shoes you normally wear, let the arm hang comfortably, and place the cane tip a short distance to the outside of the foot. The handle should generally align with the wrist crease or the prominent bump at the wrist when the arm is relaxed. With the hand on the handle, the elbow should remain slightly bent rather than locked straight.
The exact setting is less important than the resulting posture. If the cane is too tall, the shoulder may hike upward and the wrist may bend back to reach the handle. If it is too short, the trunk tends to lean toward the cane, increasing pressure through the palm and making the shoulder work as a stabilizer. A person using a cane on stairs, uneven ground, or for longer walks may notice these errors more quickly than someone taking a few steps indoors.
Make small adjustments and test the cane on a level surface. Your shoulder should stay relaxed, your forearm should be broadly aligned with the shaft, and the cane tip should contact the floor without reaching far ahead. A height that feels comfortable while standing still may still be wrong if you must bend sideways or shrug during walking. Recheck the adjustment after changing footwear or if your posture changes because of a new injury.
Common mistake: choosing height by copying another person or setting the handle at hip level. Body proportions differ, and a visible hip landmark does not reliably produce a neutral wrist and shoulder position. If the handle, shaft, or tip is damaged, replace the part rather than compensating with a tighter grip.
Use the Hand, Elbow, and Shoulder in a Supported Position
A comfortable cane grip should provide control without requiring a constant squeeze. Hold the handle firmly enough to prevent slipping, but let the fingers and thumb remain supple. Excessive squeezing compresses the hand and forearm tissues and can make the wrist more rigid. A broad, contoured handle may feel better for some people with sensitive finger joints, while a standard handle may offer adequate control when the cane is used briefly and on predictable surfaces.
Keep the wrist close to neutral: neither sharply bent backward nor folded toward the little-finger side. The elbow should have a small amount of flexion so it can absorb minor changes in ground height. Locking the elbow turns each contact with the floor into a jolt transmitted toward the shoulder. Raising the shoulder to keep the cane planted creates a second problem: the upper trapezius and shoulder muscles stay tense instead of allowing the arm to swing naturally.
Support should be shared across the palm and arm, not concentrated at the heel of the hand. Avoid leaning your full body weight onto the handle during every step unless a qualified clinician has specifically trained you to use that level of support. A cane is usually intended for light to moderate assistance with balance or load sharing; a walker or another mobility aid may be more appropriate when the arm must bear substantial weight.
Try a short indoor practice session beside a stable counter, without using the counter as a substitute for the cane. Walk slowly and check whether your hand becomes numb, the shoulder creeps toward the ear, or the wrist aches after several minutes. Those signs are useful feedback, not something to push through. You can also compare the cane with other joint-protection approaches for daily walking when the device no longer matches your support needs.
Coordinate Cane Placement With Each Step
For many people, the cane is held on the side opposite the weaker or painful leg. The usual sequence is to move the cane and the affected leg together, then step through with the stronger leg. This pattern lets the cane contribute support while the affected side is moving and reduces the temptation to reach far forward and pull the body onto the arm. A clinician may prescribe a different sequence for a particular injury, surgery, or balance condition.
Keep the cane tip close enough to your body that the elbow remains under control, but far enough to avoid striking your foot. A tip placed excessively forward acts like a braking point: the body leans, the wrist bends, and the shoulder absorbs the pull. A tip placed too close to the foot can be clipped during the next step. On a slick, sloped, or cluttered surface, shorten the stride and place the cane deliberately rather than trying to maintain normal walking speed.
Stairs require special attention. Use a handrail when available and take one step at a time if your balance or leg strength is limited. A common teaching phrase is to move the stronger leg up first when going upstairs and the cane and weaker leg first when going down, but your own rehabilitation instructions take priority. Never carry bags in the cane hand while negotiating stairs; the load changes grip and shoulder demand at the moment stability matters most.
Practice the sequence before adding distance. For example, walk from one room to another while counting “cane and affected leg, stronger leg,” then stop and reset if the cane begins landing too far ahead. Smooth, quiet contacts usually indicate better control than forceful tapping. The goal is not to make the cane carry the entire body; it is to create a stable base while the legs continue doing as much safe work as they can.
- Check the rubber tip for wear, moisture, or debris before walking outdoors.
- Keep the cane on the side that gives the affected leg useful counter-support, unless a professional has instructed otherwise.
- Turn with several small steps instead of pivoting around a planted cane.
Recognize Overload and Know When to Get Help
Wrist or shoulder discomfort after cane use can reflect a correctable technique problem, but it can also indicate that the cane is not enough assistance for the task. Watch for a pattern rather than a single sensation. Mild hand fatigue that settles after rest may improve with a looser grip and shorter practice periods. Repeated wrist pain, swelling, tingling, shoulder catching, or pain that persists after the cane is put down deserves a closer assessment.
Several failure patterns are especially informative. A cane that slips may cause a sudden gripping response and shoulder jerk, while a worn tip can make every step feel uncertain. A user who leans heavily to one side may be compensating for weakness, pain, or poor balance rather than simply needing a different handle. If you cannot stand upright with the cane, cannot coordinate the sequence safely, or need to press down hard to prevent a buckling knee, a physical therapist or other qualified clinician can assess whether a walker, crutch, rail, or different plan is safer.

Do not solve arm overload by tightening the grip or raising the cane. First stop and inspect the tip, confirm the height, and reduce the walking distance. Then test on a clear, level surface. Seek prompt medical advice for new weakness, loss of sensation, severe swelling, a fall, sudden inability to bear weight, or chest symptoms. A cane-related ache should not be assumed to be harmless when it is escalating or accompanied by neurological changes.
A useful priority order is simple: safety and fit come before speed, then posture and step coordination, then endurance. Someone recovering from a leg procedure may need more support temporarily, whereas someone using a cane for occasional balance may benefit from technique refinement rather than greater pressure through the arm. The advice in this related mobility and joint-use resource should complement, not replace, individualized instructions from the treating team.
For individualized cane height, gait sequencing, and decisions about changing mobility aids, consult a licensed physical therapist, occupational therapist, or clinician familiar with your condition. Manufacturer instructions can also clarify safe adjustment ranges and replacement of worn tips; device-specific guidance is more reliable than forcing a generic technique onto a different cane design.
Frequently Asked Questions
Which hand should hold a cane?
It is commonly held opposite the weaker or painful leg so the cane and affected leg can move together. An assessment may change that arrangement for a specific injury or balance problem.
How much weight should go through the cane?
Use only the support needed for safe balance and comfortable load sharing. If you must press heavily through the handle or cannot remain upright, ask whether a more supportive aid is appropriate.
Why does a cane make my wrist hurt?
Common contributors include excessive gripping, a bent-back wrist, an overlong or short cane, a worn tip, and placing the cane too far ahead.
Should the elbow be straight when using a cane?
No. A small, comfortable bend allows the arm to respond to floor changes. A locked elbow can transmit impact toward the wrist and shoulder.
When is a cane not enough support?
A cane may be insufficient when the leg buckles, balance remains unsafe, both sides need support, or the arm must carry substantial body weight. A professional can help select and fit an alternative.
Conclusion
Protecting the wrist and shoulder begins before the first step: adjust the cane to a neutral standing posture, use a controlled but relaxed grip, and keep the elbow softly bent. Hold the cane opposite the affected leg when that matches your clinical instructions, move it with that leg, and avoid reaching far forward or leaning heavily onto the handle. Short practice sessions on clear surfaces make technique problems easier to identify than long walks taken while fatigued. Inspect the rubber tip regularly and treat numbness, persistent pain, slipping, or worsening balance as reasons to reassess the setup. When the cane cannot provide stable support without arm strain, a different mobility aid or individualized gait training may be the safer next step.